Every Laravel tutorial makes setup look like a single copy-paste command and then, poof, you’re building an app. In practice, it’s usually one command plus one confusing red X you have to Google. Here’s exactly what happened when I set up a fresh Laravel project on my Mac, from having zero PHP tooling installed to actually running the dev server — including the one step that failed and what it turned out to mean.
I was following along with the official Learn Laravel from Scratch [FULL BOOTCAMP COURSE] on YouTube, which walks through building a full-stack app from a completely empty machine. It’s a solid starting point if you want to follow the exact same steps — just know that the setup section is where things can get a little bumpy depending on what’s already on your computer.
Starting From Scratch
Before installing anything, it’s worth checking what’s already on your machine. A quick round of version checks told me exactly where I stood:
php -v
composer -V
laravel --version
npm -v
bun -v
The results: no PHP, no Composer, no Laravel installer CLI. npm was already there. Nothing was broken — the machine just hadn’t been set up for Laravel development yet, which is a completely normal place to start.
Installing PHP, Composer, and the Laravel CLI
Rather than hunting through Homebrew formulas and half-outdated tutorials, Laravel now maintains a one-line installer at php.new that sets up PHP, Composer, and the Laravel installer together, with sane defaults. For macOS, that’s:
/bin/bash -c "$(curl -fsSL https://php.new/install/mac/8.5)"
(Linux and Windows have their own equivalent commands on the same page.)
One thing worth knowing ahead of time: after running this, your current terminal session won’t recognize the new commands right away. You need to close and reopen your terminal, or open a new tab, so your shell reloads its PATH. It’s the classic “have you tried turning it off and on again” — except this time it’s your terminal, and yes, you genuinely do have to.
After restarting, a quick check confirmed everything was in place:
composer -V
# Composer version 2.8.12

laravel --version
# Laravel Installer 5.31.1
Creating the Application
With the tooling installed, creating the app itself came down to a single command:
laravel new chirper --database=sqlite --react --npm --boost --no-interaction
That one command handles a surprising amount:
- Scaffolds the full Laravel application structure
- Sets up SQLite as the database and runs the initial migrations
- Installs Pest for testing, and even auto-formats the generated test code
- Installs frontend dependencies with npm and builds the assets
- Attempts to install Laravel Boost, a package built for AI-assisted development
Everything succeeded, except for one thing: Boost showed up with a red X and a completely unhelpful “Command failed” message. No explanation, no next step. Just a X, sitting there judging me.
Chasing Down the Red X
At this point I honestly didn’t know what Boost even was — I’d only included the flag because it showed up in the recommended install command. So instead of guessing, I ran the failing step by hand to see the actual error:
cd chirper
php artisan boost:install
This time it didn’t fail — it just sat there waiting, showing an interactive checklist:
Which Boost features would you like to configure?
 › ◼ AI Guidelines
   ◼ Agent Skills
   ◼ Boost MCP Server Configuration
Mystery solved. boost:install is interactive by design — it needs a human to select options with arrow keys and a spacebar. The original install command runs with a --no-interaction flag, which is great for automation and terrible for a command that’s waiting on someone to press Enter. Nothing was actually broken. It was just standing there, patiently, waiting for me to show up.
A little digging into the official Laravel Boost documentation cleared up what Boost actually is: an optional package that adds AI-assistance tooling to a Laravel project — guideline files, reusable “skills,” and an MCP server so AI coding tools can query your app’s routes, models, and database schema directly instead of guessing. None of it touches your actual application logic. Skipping it changes nothing about how your app runs.
Since I was following a tutorial and just wanted to start building, I canceled out of the prompt with Ctrl+C and moved on. Boost can always be installed later with the same command, whenever it’s actually useful.
Getting the App Running
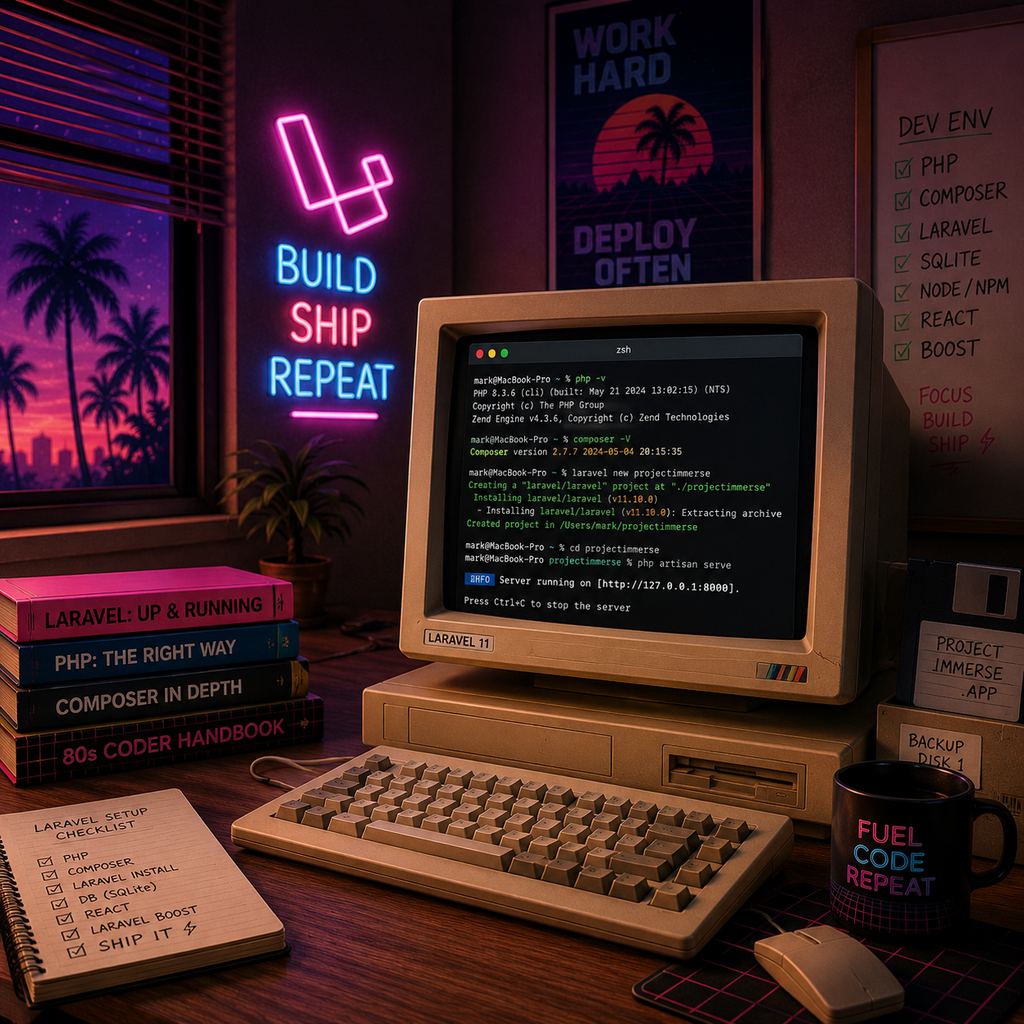
With setup out of the way, starting the app is refreshingly simple:
cd chirper
composer run dev
This single command runs Laravel’s combined development workflow — the local server, queue listener, log watcher, and Vite’s asset bundler — all at once. The app becomes available at http://localhost:8000.
Choosing a Starter Kit: React, Vue, or Livewire?
One decision worth making deliberately is which starter kit to scaffold with. All three options set up authentication, a dashboard, and sensible project structure, but they lean toward very different frontend approaches:
- React — the default choice, and a safe bet if you already know React or want the most tutorials and Stack Overflow answers to lean on.
- Vue — a gentler learning curve for many developers, with templates that read closer to plain HTML.
- Livewire — skips a JavaScript framework almost entirely, letting you build interactive UI using mostly PHP and Blade templates. Great if you’d rather not context-switch between two languages.
If you’re following a specific tutorial, match whatever starter kit it uses — swap --react for --vue or --livewire in the install command. Fighting the tutorial’s framework choice while also learning Laravel is a great way to have a bad afternoon.
What Actually Gets Pushed to GitHub
A question that comes up almost immediately after setup: if you push this to GitHub, does everything go up? Thankfully, no — Laravel’s default .gitignore already handles this sensibly.
Stays local, never pushed:
/vendor— Composer dependencies, reinstalled withcomposer install/node_modules— npm dependencies, reinstalled withnpm install.env— your real environment config, including database credentials, your app key, and any API secrets
Gets pushed:
- All your actual application code — routes, models, controllers, views
composer.json/composer.lockandpackage.json/package-lock.json, which act as recipes for regenerating the dependency folders.env.example— a template listing which environment variables are needed, without any real secret values
So when someone clones your repo, the setup dance is: composer install, npm install, copy .env.example to .env, fill in real values, then php artisan key:generate. Simple, and nobody accidentally commits their database password to a public repo. Everybody wins, especially future you.
A Few Things to Double-Check Before You Start Building
Once composer run dev is running and localhost:8000 loads in your browser, it’s tempting to dive straight into features. A couple of quick sanity checks first can save you a headache later:
- Confirm your
.envfile exists. The installer creates it automatically from.env.example, but it’s worth a glance to make sure your database connection and app key are actually populated. - Run the test suite once. Since Pest is already installed and configured, running
php artisan testright away confirms the whole install is healthy before you’ve written a single line of your own code. - Commit early. Get that first commit into Git before you start customizing anything, so you always have a known-good baseline to compare against.
The Fundamentals
Strip away the specific commands and a few reusable lessons remain:
- Check before you install. Verifying what’s already on your machine avoids redundant work and version conflicts.
- Official scripts beat scattered tutorials. A maintained one-liner like
php.newis far less likely to break than a five-year-old blog post’s instructions. - Restart your terminal after installing new CLI tools. Your shell caches its PATH; new commands won’t be recognized until you reload it.
- A red X doesn’t always mean something’s broken. Sometimes it just means a command is interactive and got run in a non-interactive context. Rerun it by hand before panicking.
- Optional tooling is optional. Don’t let a non-critical setup step block you from actually building your app.
What I’d Tell Past Me
Looking back, the whole detour cost maybe five minutes, and most of that was spent staring at a red X wondering if I’d broken something. If I’d known upfront that Boost was optional and that interactive commands sometimes fail silently when run non-interactively, I probably wouldn’t have blinked at it at all. That’s really the theme of setting up any new framework: the errors are rarely as scary as they look, and most of them resolve themselves the moment you run the command again by hand and actually read what it prints back at you.
Wrapping Up
None of this required any special expertise — just checking dependencies, running an official installer, scaffolding the app, chasing down one cryptic error, and reading a bit of documentation. Setup can look intimidating when something fails silently, but nine times out of ten, running the failing step by hand and actually reading the output tells you everything you need to know. The rest is just following the trail.