Getting started with Vue 3, from creating a new project to understanding script setup.
If you’re brand new to Vue and just ran your first npm create vue@latest command, congratulations — you’ve officially joined the club of developers staring at a terminal wondering what half the prompts mean. Don’t worry, that’s normal. Vue’s scaffolding tool asks a lot of questions for something that’s supposed to be “quick start.”
In this post, we’ll walk through two things: how to actually get a new Vue project up and running, and what’s going on inside that mysterious <script setup> block once you open your first component file.
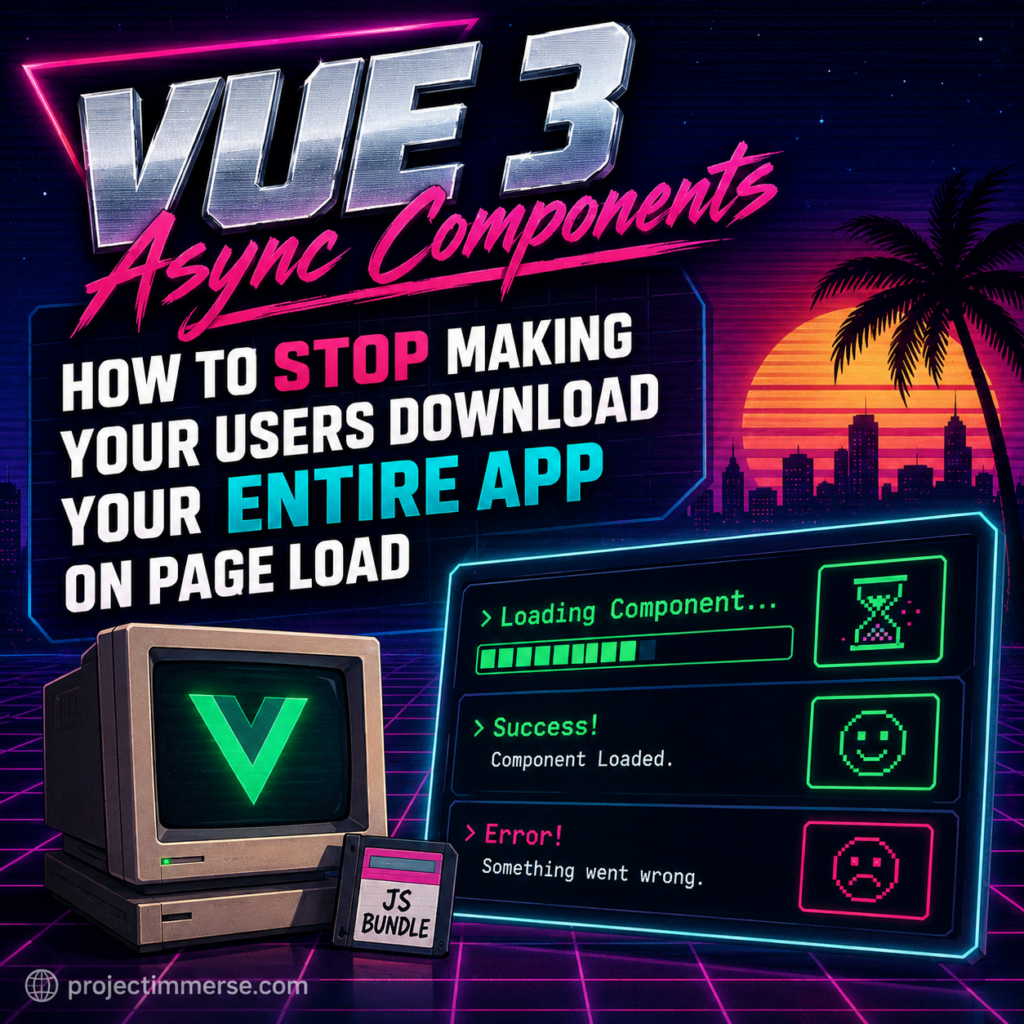
Use Vue 3 async components to lazy-load code only when users need it.
Let’s talk about a very specific kind of guilt: the guilt of shipping a JavaScript bundle so big it has its own gravitational pull.
You know the feeling. You open your dev tools, check the Network tab, and there it is — a single bundle.js file the size of a small documentary, loading in full before your user can even see a “Sign In” button. Somewhere in there is your entire admin dashboard, your rarely-used settings page, and that one chart library you imported for a feature three people use.
The good news: Vue 3 has a built-in fix for this, and it’s been sitting right there in the docs the whole time, quietly judging your bundle size. It’s called defineAsyncComponent, and once you understand it, you’ll wonder why you were ever making users download the whole toy box just to play with one toy.
By the end of this article, you’ll know exactly how it works, when to use it, when not to use it, and you’ll have a working demo you can poke at yourself. I’ve also put a full working example on GitHub, linked at the bottom, so you don’t have to just take my word for any of this.
A practical guide to setting up Prisma 7 with Next.js and troubleshooting common configuration errors.
If you’ve recently tried to follow a Prisma tutorial and ended up with a wall of red squiggly lines in VS Code, congratulations — you’ve met Prisma 7. This post walks through a real, messy, “why is this still broken” setup process, the exact roadblocks that came up, and the handful of commands you actually need to remember once the dust settles. Consider it the guide I wish existed before I started.
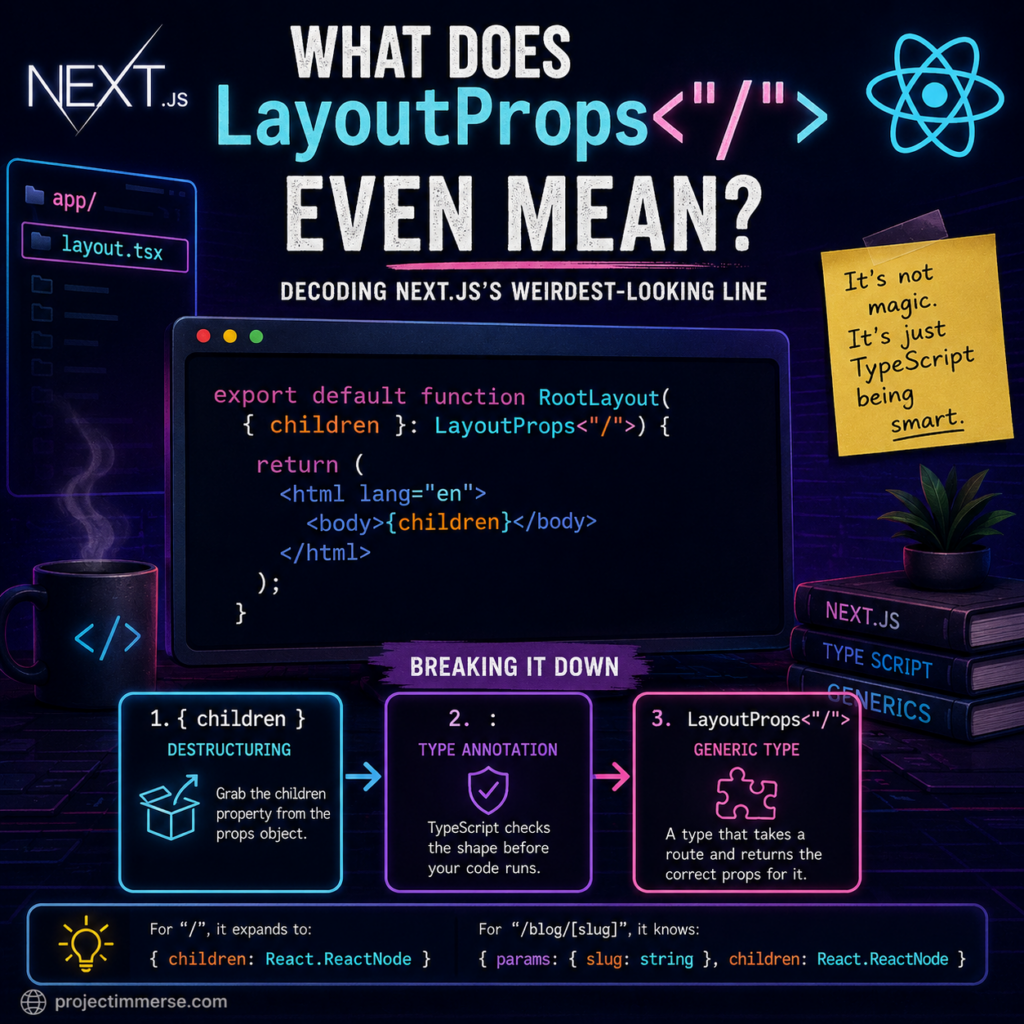
What does LayoutProps<"/"> mean in Next.js? The syntax combines JavaScript destructuring, a TypeScript type annotation, and a route-aware generic type.
If you’ve recently created a Next.js app with the App Router and opened up app/layout.tsx, you’ve probably run into this line and quietly questioned your life choices:
export default function RootLayout({ children }: LayoutProps<"/">) {
It looks like someone fell asleep on their keyboard mid-generic. But don’t worry — nothing is broken, you didn’t mess up your install, and you don’t need to go back to plain HTML and pretend React never happened. Let’s take this line apart, piece by piece, until it stops looking like alien code and starts looking like a sentence.
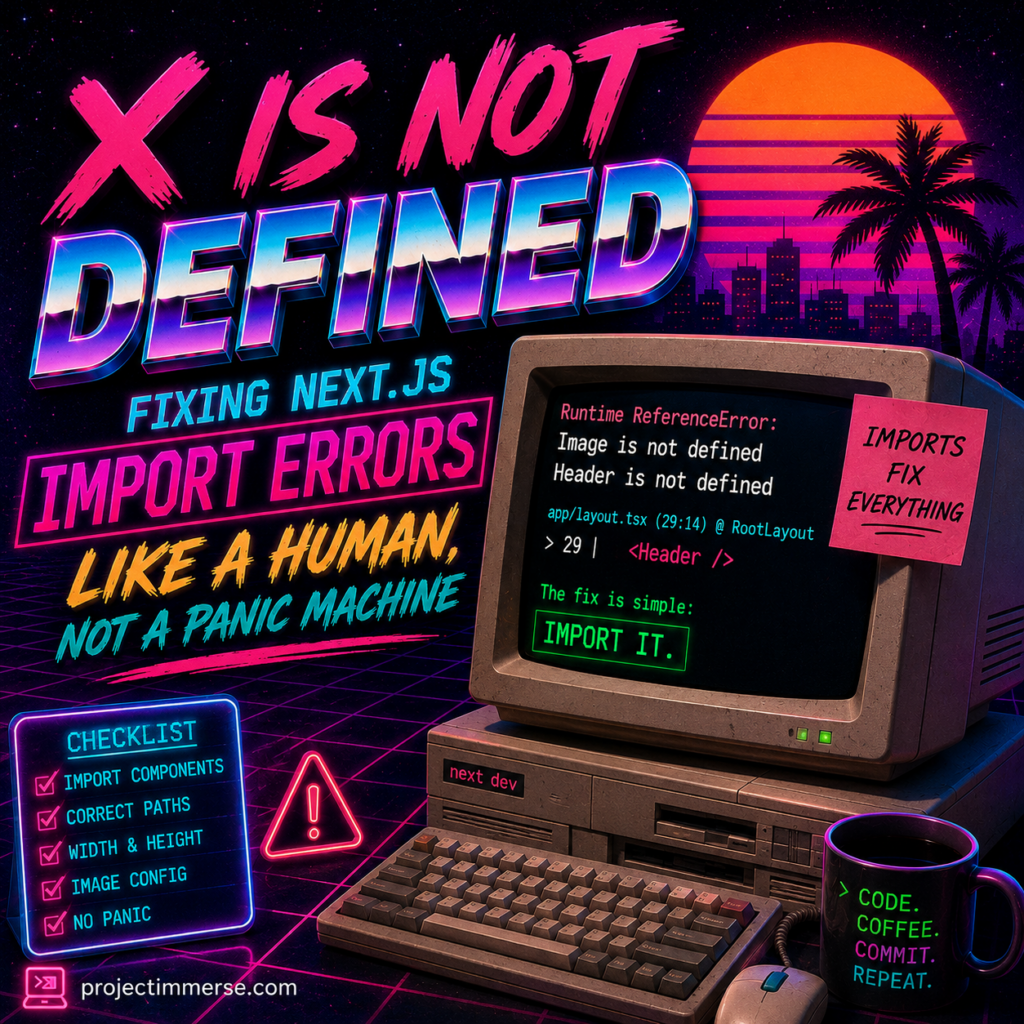
Getting “X is not defined” in Next.js? Check your component imports and import paths first.
There’s a special kind of dread that comes from running your app and seeing a big red ReferenceError: X is not defined where X is a component you know you wrote. You didn’t imagine it. It exists. It’s sitting right there in your project folder, judging you.
The good news: this error is almost always the same problem wearing a different costume. Let’s walk through it using two real examples — Image and a custom Header component — plus how to properly reference local images while we’re at it.
Find the PID using a process or port lookup, then terminate the process from the command line.
If you’ve ever stared at a terminal that says Port 3000 is already in use and felt a small piece of your soul leave your body, this post is for you. Whether you’re running Next.js, a random Node script, or fifteen forgotten npm run dev processes from three weeks ago, learning to manage processes by PID will save you a restart, a Stack Overflow rabbit hole, and possibly your sanity.
Let’s break down what a PID actually is, how to find one, and how to (gracefully or violently) shut it down.
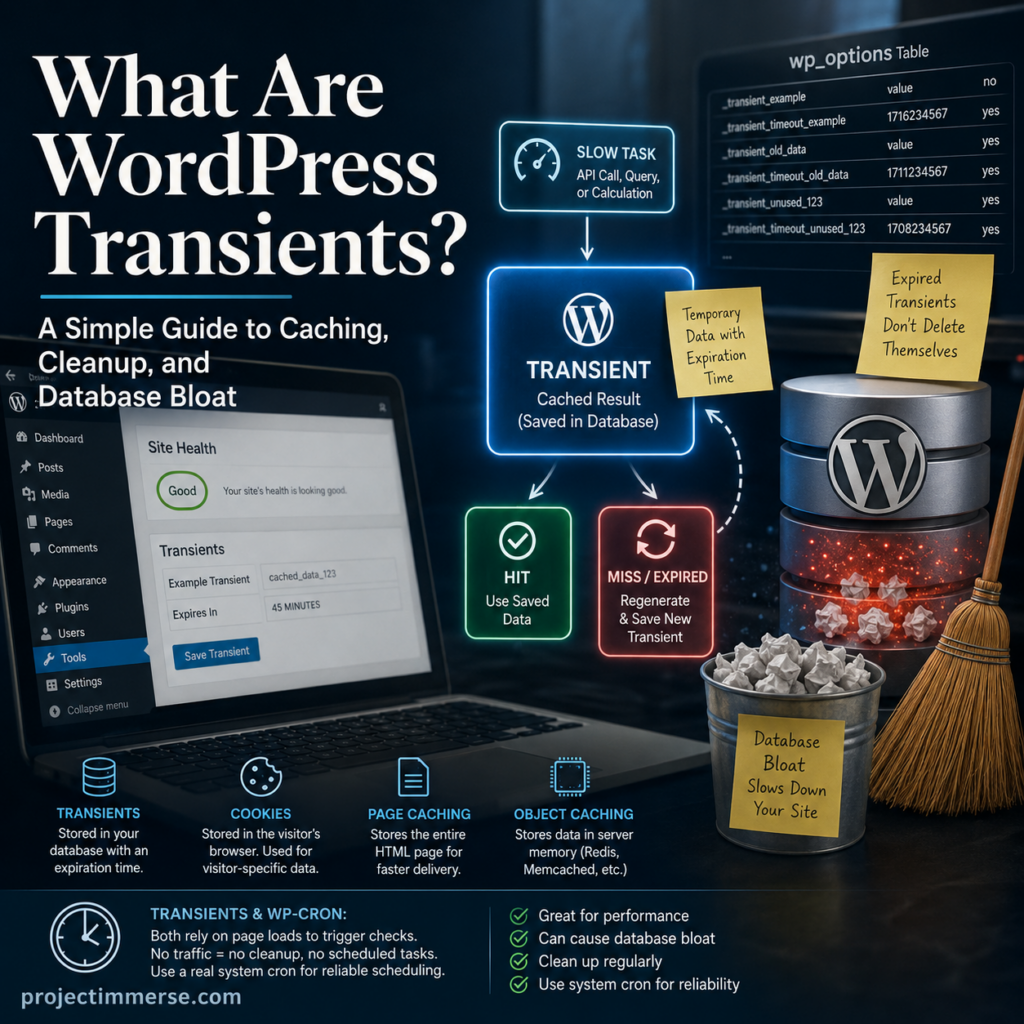
WordPress transients temporarily cache data to improve performance, but expired transients can accumulate over time and contribute to database bloat if they aren’t cleaned up regularly. This illustration shows how transients work and how they relate to caching and WP-Cron.
If you’ve spent any time digging into WordPress performance, you’ve probably run into the word “transient” and wondered how it’s different from caching, cookies, or that mysterious wp-cron system running in the background. This guide breaks it all down in plain English, with no jargon required.
What Is a WordPress Transient?
A transient is WordPress’s way of temporarily saving the answer to a slow or repetitive task so it doesn’t have to redo that work on every page load. Think of it like a sticky note: instead of recalculating something expensive (like an API call, a database query, or a list of your newest posts) every single time a visitor loads your site, WordPress does the work once, writes the result down, and reuses that note until it expires. Efficient, a little lazy, and honestly relatable.
Transients are typically stored in your site’s database, usually in the wp_options table, and every transient is created with an expiration time. Once that time passes, WordPress knows the saved data is stale and should be refreshed the next time it’s requested. No transient has ever actually respected a deadline, but more on that shortly.
A step by step guide on the pull request cycle. Submitting a pull request is part of a larger process in which external members can make modifications to the existing code base.
Forking
Fork target repository
Cloning involves making a copy of a git repository onto a local machine. In contrast, a fork is a cloning of one git repository to another repository.